Your Cart is Empty
- Shop By Category
- Shop by Brand
- Order Samples
- Free Design/Quote
- Comparison Quote
- Help

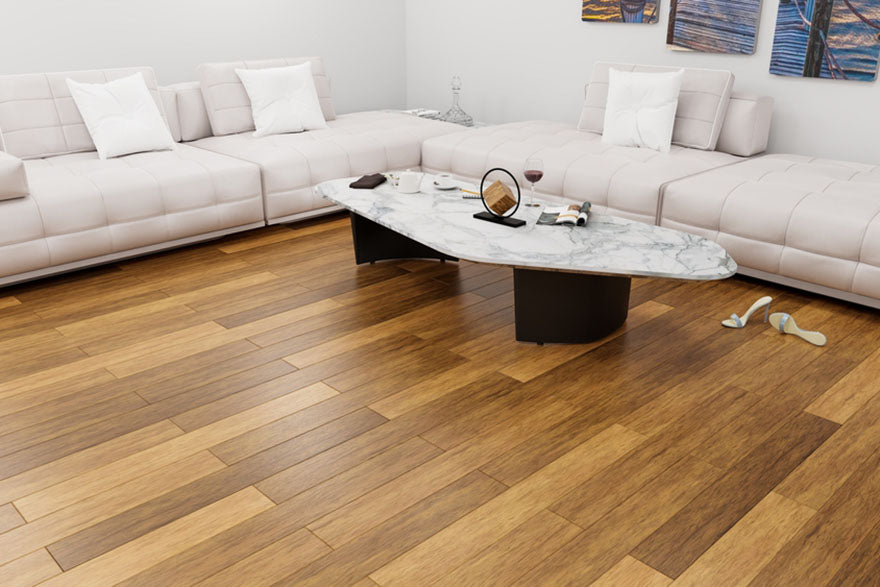
Source:StudioDin/Shutterstock.com
Many home and business owners favor luxury vinyl plank (LVP) flooring for its sophisticated hardwood-like look and exceptional durability. However, even the sturdiest floors succumb to damage from accidents or regular wear and tear. This brief guide walks you through seven steps for repairing vinyl plank flooring damage to keep your system looking as good as new.
Begin the LVP flooring repair process by carefully evaluating the affected area. You’ll need to identify the type of damage you’re dealing with. The flooring defects could range from minor, superficial scratches that only need a touch-up to deep gouges or broken planks that require replacement. Once you assess the severity of the damage, you’ll be in a better position to identify the repair method that provides the best outcome.
Check Out Our Vinyl Plank Flooring
Source:Dmitry Melnikov/Shutterstock.com
You’ll have to assemble all the tools and materials required for a successful repair. You’ll need replacement planks that match your existing floor. Some types, like our Stonecreek SPC click flooring, are floating and do not require adhesive. If you are installing glue-down planks, you need a suitable adhesive to secure the new planks and a putty knife or roller to apply and smooth the adhesive. As when assembling RTA cabinets, having everything ready before you start your repair will streamline the process and ensure the best project outcomes.
Proper preparation of the workspace is crucial for a successful repair. Begin by cleaning the damaged area thoroughly. Use a soft brush or a vacuum cleaner to remove any dust, debris, or particles that may interfere with the adhesive or new planks. Make sure you’re working with a clean and dry surface, too. Removing all foreign substances helps the repair materials to adhere correctly, creating a more durable and appealing finish. This step is crucial to the longevity and effectiveness of your LVP flooring repair.
To begin the removal process, first determine which planks need extraction. Knowing which pieces to address lets you plan the removal so that it will not impact neighboring components. The removal and replacement process differs if you have glue-down or click flooring.
For floating planks, start by making vertical cuts to the plank and slowly remove it. For glue-down flooring, if the piece you need to replace is located at the perimeter, gently pry it out with a putty knife. For a centrally positioned plank, carefully remove it without damaging the adjacent flooring components. Gently wiggle the plank, tapping lightly with a soft mallet if needed. Once disengaged, lift the plank out, check the subfloor for cleanliness and integrity, and prepare for the new plank installation.
This step is necessary only if the plank you are replacing had been cut to fit. After removing the old plank, measure the empty space carefully for the new piece. Mark these measurements on the replacement plank, ensuring precision for a perfect fit. Using a sharp utility knife or fine-toothed saw, carefully cut the new flooring section along the marked lines. Dry-fit the plank into the space to verify it fits, making slight adjustments if necessary.
Explore These Stained Kitchen CabinetsIf installing glue-down flooring, prepare the adhesive. Apply a thin, even layer of flooring adhesive to the subfloor, focusing on where to place your plank. Carefully position the new section, aligning it perfectly with the existing planks to ensure a seamless and tight fit. Then, press it firmly into place, starting from one end and slowly working your way to the other to prevent air bubbles. For added security, use a roller or soft mallet to bond the plank with the adhesive underneath. This careful alignment will allow the new section to integrate perfectly with your existing LVP flooring.

Source:Miljan Zivkovic/Shutterstock.com
For click flooring, you’ll need to gently heat the plank to make it more pliable. After heating it, you’ll need to bend the new plank to fit it into an existing plank. Then, you’ll need a crowbar or similar tool to wedge the remaining sides into place until you hear the plank snap.
Depending on the type of flooring you have, after installing the new plank, you may need to use a vinyl floor sealant along the edges for water resistance and durability. If there are any color discrepancies, carefully fix them with touch-up markers that match the existing flooring’s shade. This will help sustain a uniform look.
After following these repair steps, you’ll find it easy to rejuvenate the damaged sections of your LVP flooring. These steps will help ensure that your flooring investment remains one of the most impressive features in your home or business. Moreover, you won’t have to worry about replacing your entire flooring system because of isolated damage.
Comments will be approved before showing up.